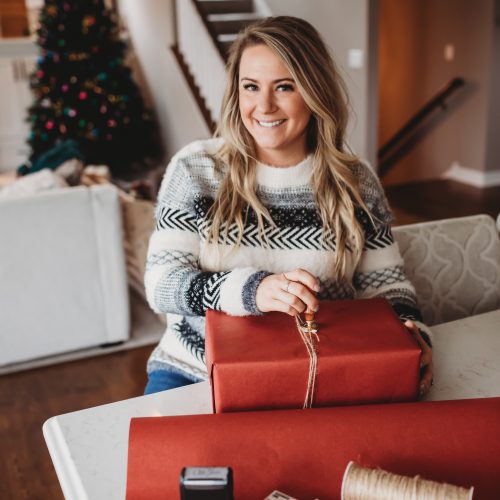
There are two types of people in this world, those that love to wrap gifts and those that despise wrapping gifts. I know I’m an outlier here with the loving to wrap gifts but hear me out! I’m a creative person by nature so when it comes time to wrapping gifts I love to pick out the paper and coordinate ribbons and bows. I find a few rolls of paper that will work for men & women, plus little boys & girls. The extra care in the wrapping doesn’t go unnoticed (usually) and I personally think it adds a little something extra even for those mundane gifts, like socks. To watch my family open gifts I so carefully wrapped are moments I treasure.
Not a good gift wrapped? Not a problem. I wasn’t either. 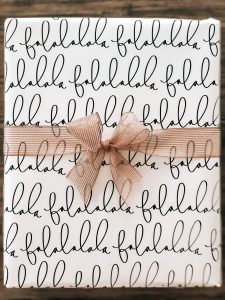 I usually waited until the last minute and many times resorted to bags with tissue. Now, if you’re a bag kinda gal, more power to you! You gotta do you! But if you’re hoping to master the art of wrapping, continue reading on.
For starters, the most important thing you need is a quality wrapping paper. My absolute favorite this year is at
Target, specifically the sugar paper for target, falalala. I would only recommend using the premium paper. It’s thicker, will hold
together nicely and adds a little extra to those gifts. Some of my favorite places for premium paper are:
- Target
- Home Goods
- Pier1 Imports
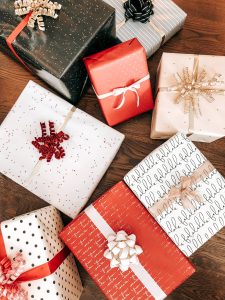
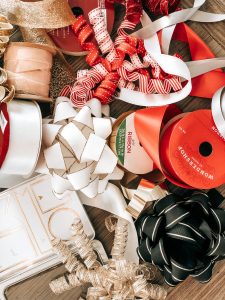
There are two kind of ribbon I would recommend, satin & wired. Satin add such a beautiful touch while the wired ribbon will hold shape and form a bit more. I like to get a little funky with wired ribbon (rose gold, glitter gold) and keep the satin ribbon rather traditional (red & white).
Besides a pair of scissors, the next 2 items I believe you must have in addition to the scissors, no questions. You MUST use the satin finish scotch tape (it’s purple). I repeat, DO NOT UNDER ANY CIRCUMSTANCES USE SCOTCH MAGIC TAPE (it’s the green one). It has a matte finish so unless your paper is matte (which most are not) this will not blend in nicely.
If you are choosing to use stain ribbon, please do yourself a favor and buy a pair of Fiskars (or some kind of fabric scissors). I have tried to make regular scissors work but it just doesn’t do the job correctly. The ribbon frays and you can’t get straight clean lines.
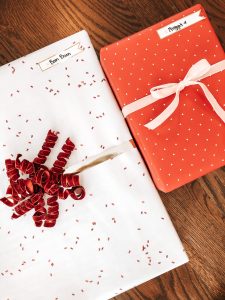
Lastly for embellishments, I buy the premium bows and curl bows if I’m not going to tie my own basic bow. By adding a strand (or two) of the ribbon and adding a pre-made bow it takes the guess work out of the equation on how to tie ribbon correctly (which is an entirely separate blog post for another time, no not this year). 😉
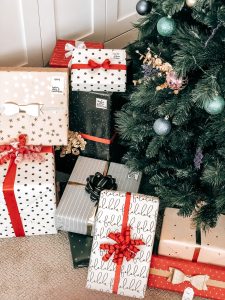
If you’re looking to save some money, go to Target & Home Goods the day after Christmas and everything is 1/2 off. Paper, ribbons, bows! Stock up for next year! Target usually comes out with similar paper each year that will enhance your collection if the store is picked over.


Now for the main event. How-to wrap a gift in 8 simple steps. Make sure you’re using a flat surface. Here are the things you need:
- Normal scissors
- Premium gift paper
- Satin tape
- Shipping tape
- Patience
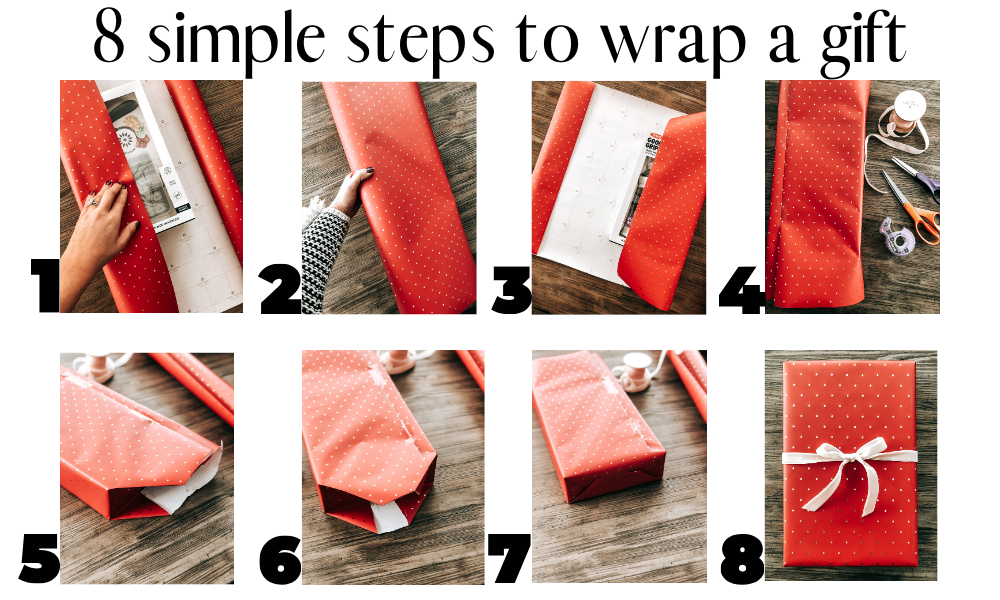
- If your gift isn’t already in a box, put it in one. Fold the box & align the flaps to be as sealed best as you can. Use the shipping tape to secure it. Now using the larger sides of the box, decide whichever side of the gift is the “flattest” as this will be the front of the gift (so you may have to turn the gift upside down). Unroll the paper and put the gift centered between the top/bottom of the paper. DO NOT CUT YET! You want to “measure” how much paper you need.
- Bring the end of the roll to the center of the gift and carefully pull over the rest of the roll to find where the overlap meets. Add an 2-3 inches for error & folding. Now you may cut. It’s okay if your lines aren’t PERFECT, we will fix it later.
- Fold over & tape one side of the paper to the box, keeping the gift centered. If the paper isn’t tight, go ahead and give it a little tug to get the paper as close to the box as you can. Remember how I said if the line wasn’t perfect, we’d fix it. So, let’s fix it. Fold the end of the paper inward about an inch and then bring it up to the top of the gift.
- Secure with tape & make sure you pull tightly.
- Onto the sides! If the paper is too long on the sides, go ahead and give it a little trim, keeping enough to cover the sides. Now the folding! There are a few ways to do this; however, here is my favorite way. Tuck in the paper on the corners of the box. Start with the left side & once it’s tucked in crease the top and bottom angle.
- Move to the right side and do the same thing. Now you’ve made two triangles (or almost triangles). Crease those triangles extremely welly.
- Now fold down the top triangle and secure it with a little tape. Again, pull it tightly (but not too tight it rips). Fold the bottom triangle up and secure with tape. Repeat this step on the other side!
- Now flip your gift over and add all the ribbons and bows you would like.





Leave a Reply